


 Just stacked up some foam and removed anything I didn't think belong there....lol...
Just stacked up some foam and removed anything I didn't think belong there....lol...
Just stacked up some foam and removed anything I didn't think belong there....lol...


 first to figure out what I wanted it to look like and make it to fit an eagle and to blend with my interior plans.

 This was last spring. That was the spring of 2015. What a massive job with the new springs and rear end work. I also rebuilt the boggie axels too.
 I have finally gotten started on the cabinetry d walls for the inside of the bus. This is the shower wall frame laying on its side ready for the bendable plywood. After laying out the rib work I pattern cut them to all be identical then glued and screwed them together. This shower will eventually be granite inside with a custom fiberglass ceiling.


 I cant find the pics of the internal drive shafts with the new races and bearings but here are some pics of them installed in the housings. Gear lash was good with the original shims in their original positions. The seal wear sleeves are installed just like the main drive ones shown below.


 With a little planning this works like a charm. I cleaned the races for the auxiliary drives and stuck them in the freezer. Then after cleaning and bead blasting the housings I put them under scalding hot water. While waiting I run out some bearing grease in a cup. Now two hours after the races went into the freezer I'm ready. I know one side sits flush with housing so that's the one I want to install first then when I flip it, the race wont slide back out. The other side goes further into the housing. I wanted to do them both at the same time to make sure once they come out of the water they didn't have to go back. I had to get the housing out of the water and blow it dry, then put the grease on the race lip and drop the race in. Once the race came out of the freezer I had only seconds before it started to expand. It was pretty cool to see the frost on it disappear as it warmed up and exspanded so tight it would not move. I installed both sides in under a minute without a tool.


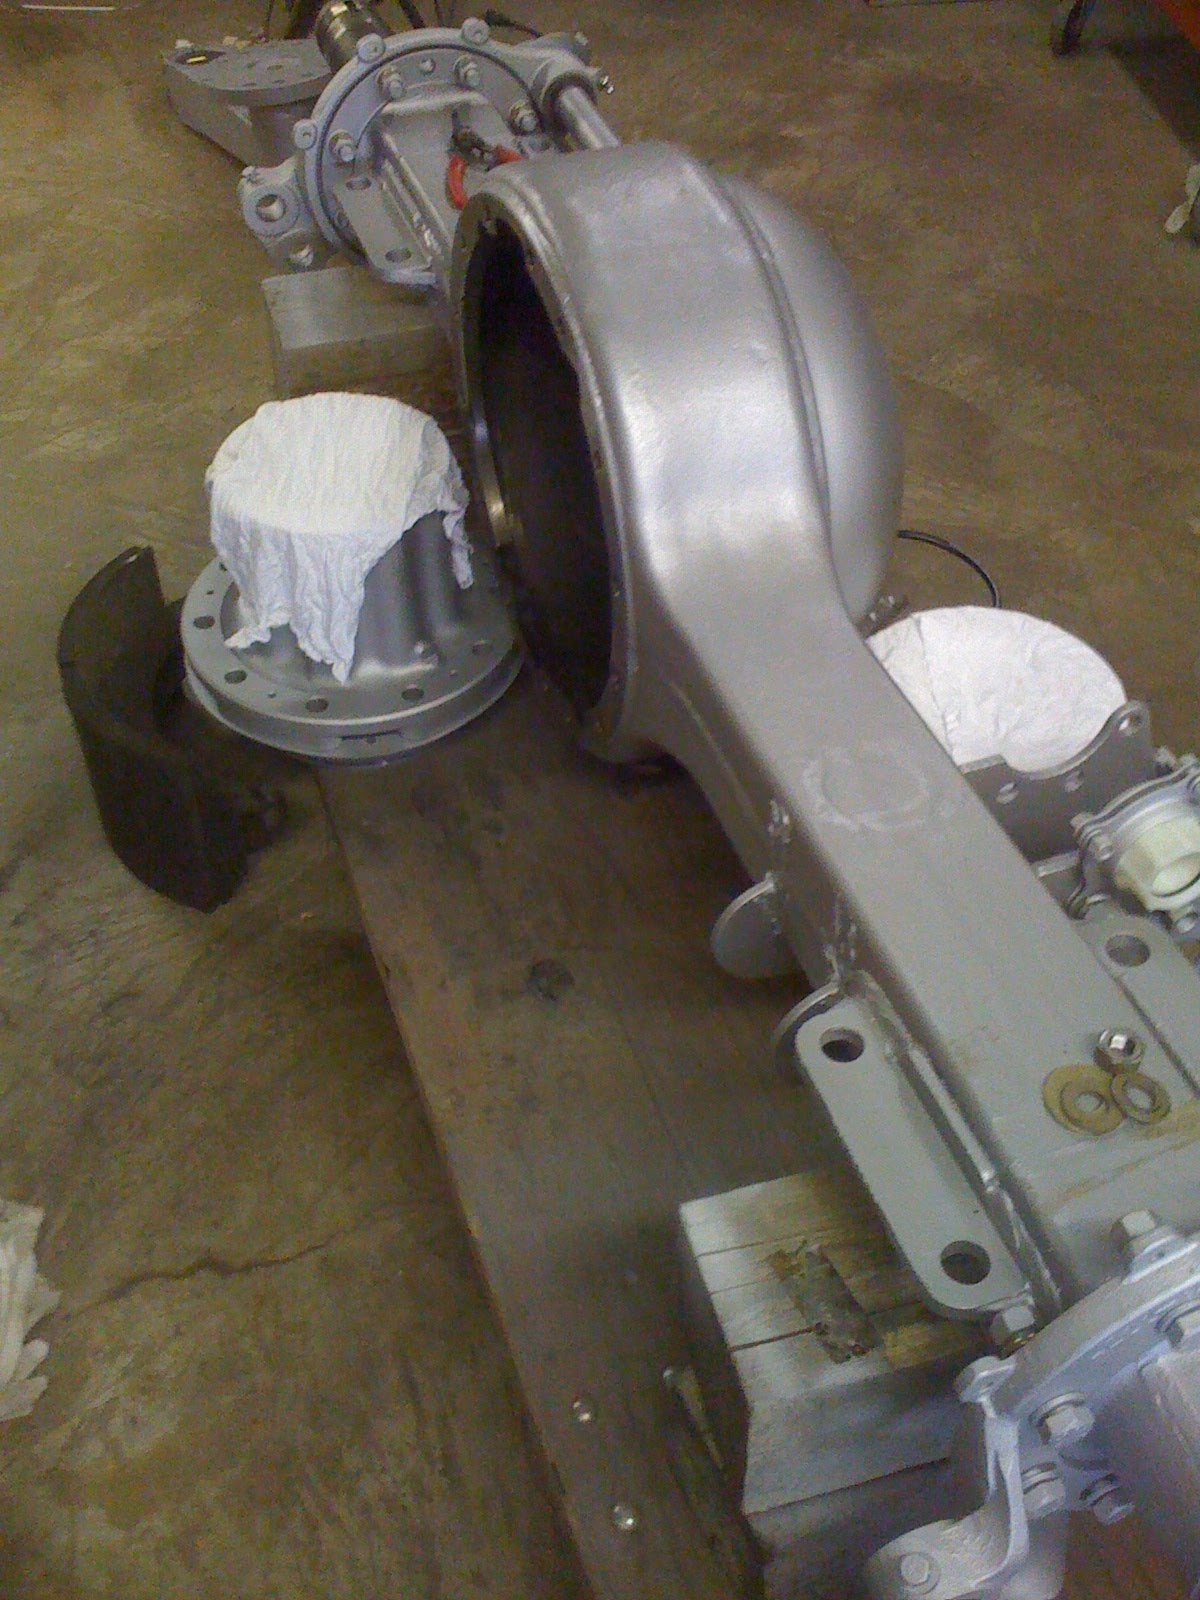
 You can see I painted the bottom of the housing upside down. I let it dry about a week then righted it and started the assembly. The dern thing weighs so much there was no getting to the bottom afterwards. In these pics you can see the housing after cleaning and bead blasting. Then I have the main drive in and the front and rear bearing housings in place with the new bearings and sleeves on them.


 Once I tapped the sleeve down on the shaft it was just a matter of cutting the drive lip and snapping it off with a pair of pliers.

 I put some Loctite sealant around the inside of it per my suppliers suggestion and then just tap them on with the supplied cups with a hammer.


 Here she's ready for some sand blasting. Once you get all the crud out and off of things you can inspect them for cracks and excessive wear. Now its time for a little bead blasting.

 Once the auxiliaries are out its just a few bolts holding each front and rear bearing housings in and the drive will come out. Now to get rid of the crud.


 Then I removed the Moreflex assemblies off of each end with the internal drive attached. The plate on the top was just an access plate nothing exciting there.


